The success of painting a house depends on proper wall preparation work. The selection of appropriate putty for preparing walls functions as a crucial element which creates smooth surfaces that sustain paint for extended periods. The base layer of putty determines the final appearance and durability of the paint according to most people who only focus on the paint. The advantages of choosing premium wall putty exceed its additional cost according to most customers.
Why Wall Putty Matters
Walls endure continuous exposure to dust and moisture along with sunlight and daily foot traffic. Paint on uneven wall surfaces with tiny cracks will display peeling and flaking because of structural weaknesses. Putty application for wall surfaces enables the creation of a flat surface which fills gaps between walls while providing structural support to the building. Premium putty provides stronger paint adhesion while creating extended surface protection.
Types of Premium Wall Putty
White Cement Putty
This material functions as an optimal solution for all types of interior and exterior wall applications. White cement putty establishes a durable and smooth foundation which enhances paint adhesion. The product protects walls from water damage while preventing cracking across all areas with heavy rainfall and high humidity.
Acrylic Putty
Acrylic putty consists of a lightweight material which maintains its flexibility while becoming extremely simple to use. The product effectively ties itself to walls which experience temperature-driven expansion and contraction as well as minor structural shifts. This type of putty is perfect for preventing cracks and keeping the paint finish intact for years.
Advantages of Using Premium Putty
Premium putty strengthens wall surfaces which makes paint last longer without showing any signs of peeling. The surface becomes even which creates a polished appearance for your walls. The system effectively reduces moisture while protecting the wall and paint from potential water damage. Flexible putty types like acrylic putty prevent hairline cracks on walls. The organization achieves financial benefits through their operations.
How to Apply Putty Correctly
Clean the wall: Remove all substances including dust and dirt and grease and loose paint to achieve better adhesive results.
Mix the putty: Follow the mixing instructions until the mixture reaches a smooth texture without any lumps.
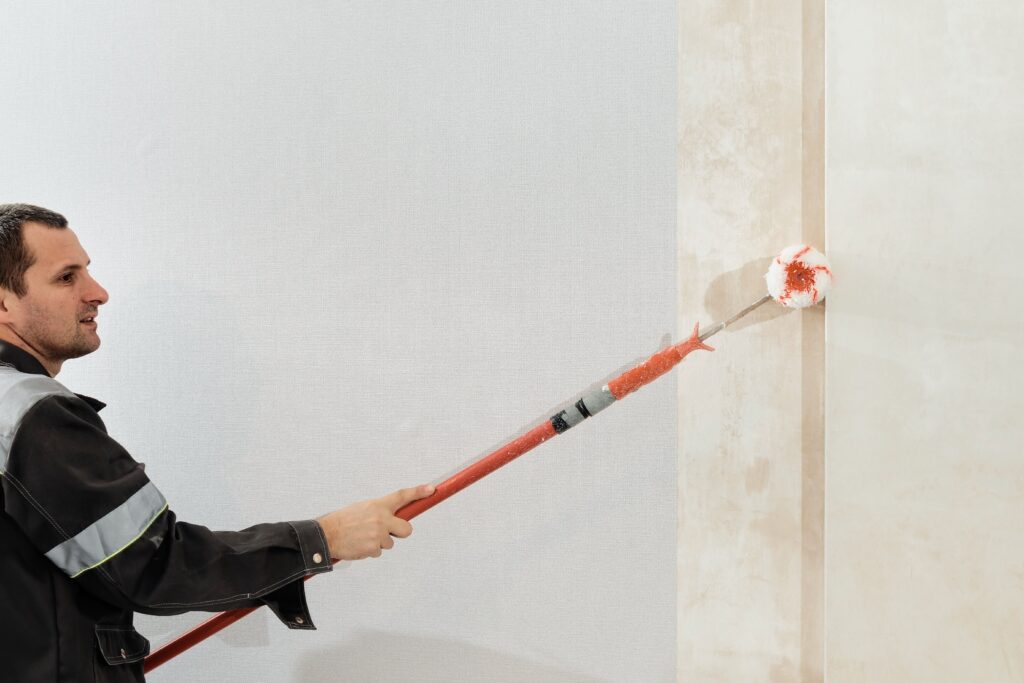
Apply thin layers: Use a putty knife to spread the putty evenly. The application of thick layers should be avoided because it leads to cracking damage.
Dry and sand: The putty requires complete drying time before you can start sanding the surface to achieve a smooth finish.
Paint: After you prepare the wall surface you can start painting with your selected paint. The surface now provides a combination of smoothness and durability and visual appeal.
When to Use Premium Putty
- On new walls before painting
- On walls with small cracks or uneven surfaces
- On exterior walls exposed to sunlight or rain
- When repainting old walls to prevent peeling
Final Thoughts
The long-term advantages of wall preparation with premium putty outweigh the minor expense of purchasing it. The use of white cement putty or acrylic putty results in smooth wall surfaces which enhance paint adhesion while creating a barrier against moisture and cracks. The correct putty selection for wall surfaces enhances both the visual appearance and the durability of your paint. Every rupee spent on premium putty provides value for creating strong and beautiful walls.