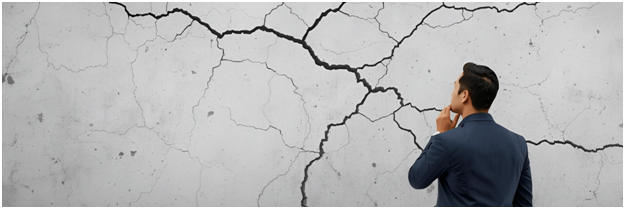
Wall fissures are one of the major difficulties that homeowners have to deal with hence the use of putty for wall cracks. Various factors may lead to the occurrence of cracks such as the settling of the building, moisture, fluctuation in temperature, or just the natural aging process of the house. Untreated cracks can not only get bigger but also gather dust and cause the wall surface to become weaker. Fortunately, the application of putty over the cracks is an easy and efficient means to fix the issue and make the wall ready for painting.
The guide will provide detailed information on how to use putty to fill cracks in walls like a professional. It will also have some tips for filling wall cracks with putty so that you do not make any mistakes that are commonly made.
Tools and materials you will need
● Prior to starting, make sure you have the following items ready:
● Crack filler paste or wall putty intended for cracks
● Putty knife or scraper
● Sandpaper (medium and fine grit)
● Clean rag or brush
● Water and sponge
● Primer and paint (optional)
These tools will ensure that your putty for wall cracks job has a smooth finish and is durable. Additionally, the use of suitable materials can help prevent the putty from being reapplied due to cracks forming after drying.
Step‑by‑step guide to fill wall cracks
- Prepare the surface
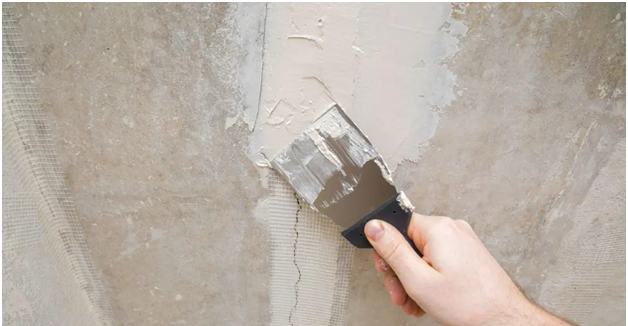
The initial task is to detoxify the wall in the vicinity of the crack. A dirt, dust and loose particles remover like a brush or cloth would be necessary for this purpose. If the crack is accompanied by old putty or peeling paint, then a light scraping with a putty knife is required until the surface is clean and a little rough. The putty to fill wall cracks can adhesion better on a surface that is clean and slightly rough.
2. Widen the crack slightly (if needed)
If the crack is thin, use the edge of the putty knife to widen it just a little. This may sound odd, but creating a slightly bigger groove gives the wall putty crack filler paste a better place to settle. The goal is to help the putty bond deeply, not just sit on top of the crack.
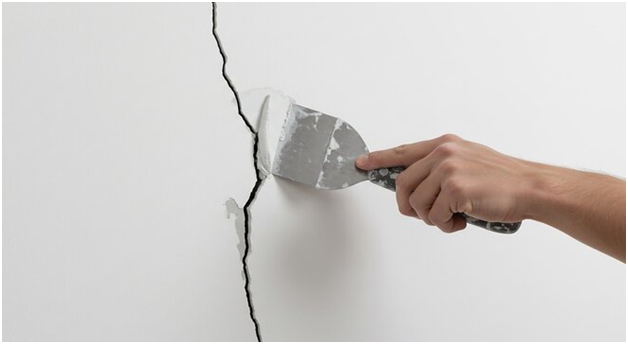
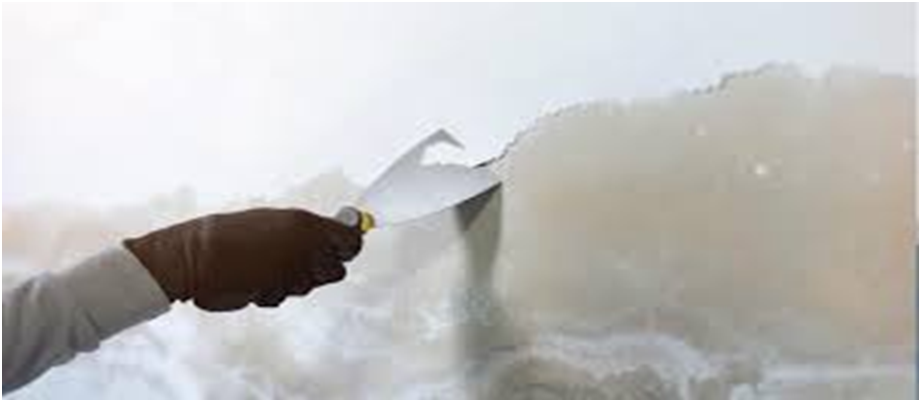
3. Apply the crack filler paste
Take a small amount of wall crack filler paste or putty crack wall mix on your putty knife. Press it firmly into the crack, moving the blade at an angle so the putty gets deep into the gap. Don’t just spread it on the surface — push it into the crack so it fills the space completely.
Use a smooth motion to remove excess putty, leaving the surface even with the wall.
4. Properly dry the putty
After you have applied the crack, let the wall putty dry at its best. The drying time depends on the product and the conditions, but the majority of putty crack fillers take only a few hours to dry. In case the crack was thick, you might have to do a second layer. Be sure to cover the first layer with putty only after it has dried completely.
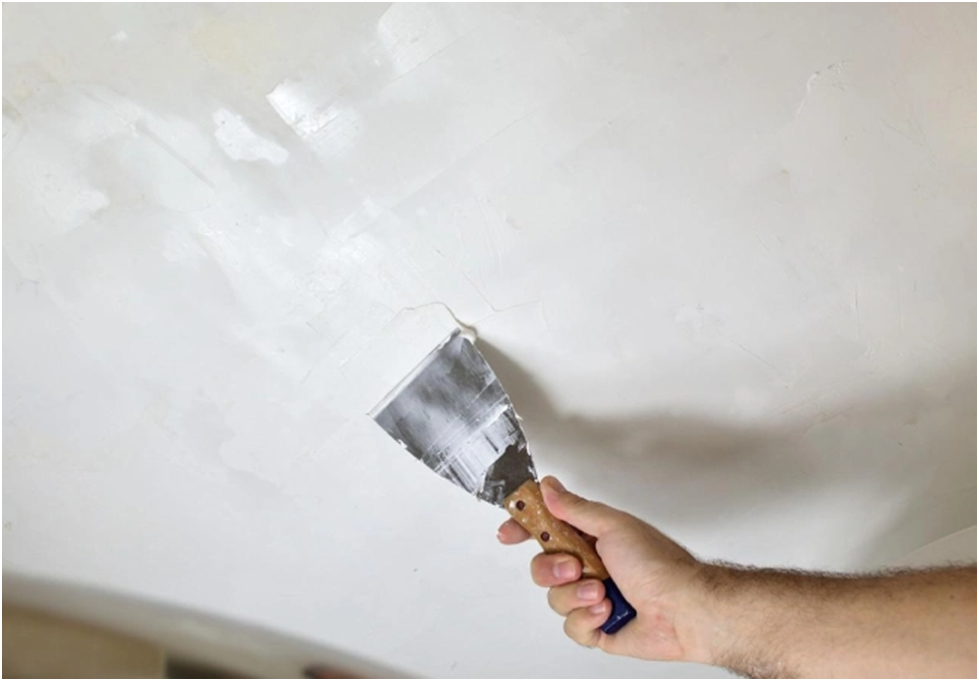
5. Smooth the surface
After the putty has dried, the area of repair can be sanded with medium and then with fine sandpaper. This process is effective for removing bumps and for smoothing the wall, which becomes then ready for applying the primer or the paint.
Always clean the dust accumulated from sanding with a dry cloth before painting.
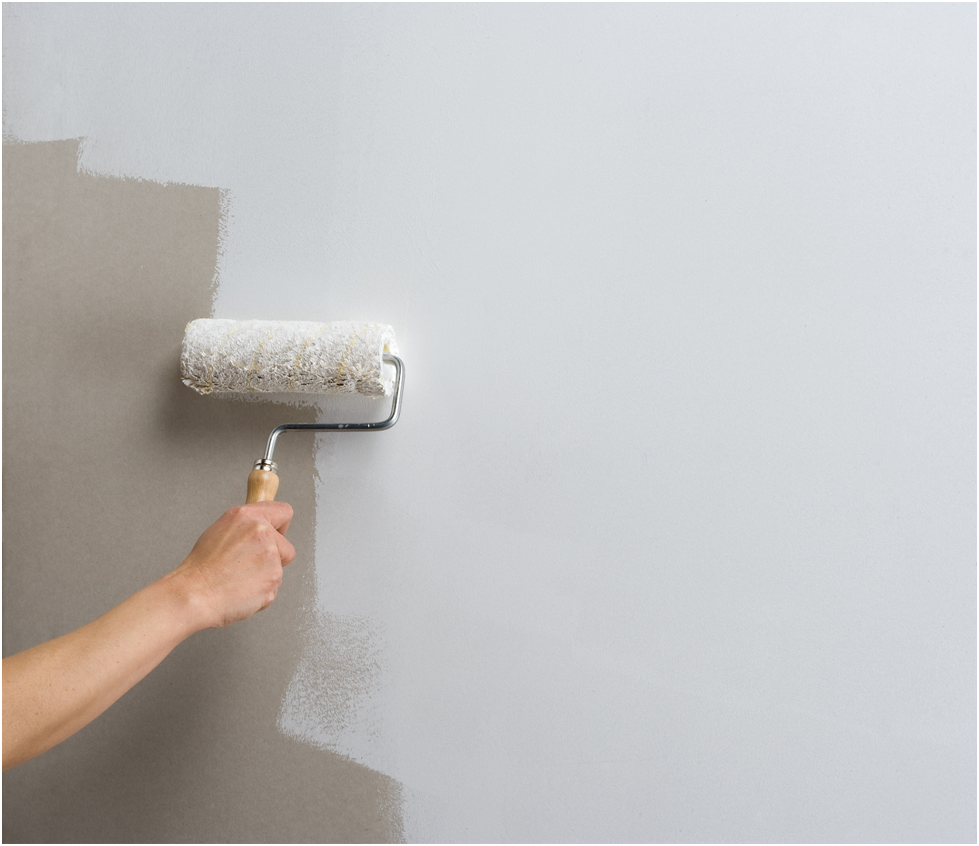
6. Prime and paint (optional)
At the point when your crack is filled and the surface is smooth, you can then apply a coat of primer followed by a matching color paint to the rest of the wall. This step will give your wall a clean and professional appearance.